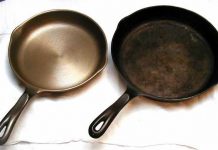
In this article, we will discuss the best way to season a cast iron skillet. The best thing about the cast iron skillet is that if you properly seasoned them then they can last the lifetime and provide an unmatchable natural non-stick surface. The cast iron’s non-stick coating is basically a layer of “seasoning” which is made up of oil that is baked into the surface.
Steps to Season a Cast Iron Skillet:
Step 1: To Season a Cast Iron Skillet
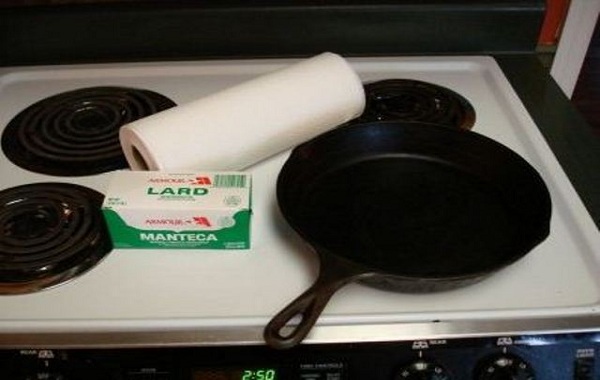
To season a cast iron skillet is very simple but a little bit messy. You just need a cast iron skillet, a box of lard, you can purchase it from you a favorite supermarket, a full roll of heavy paper towels and an oven. you need to understand the fact that seasoning of a new skillet and re-seasoning of old skillet are the same.
Step 2: To Season a Cast Iron Skillet
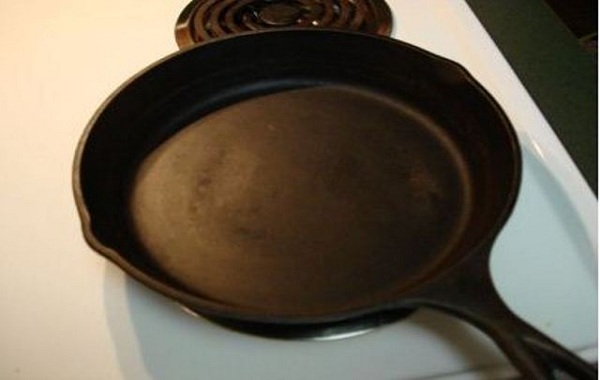
Before you proceed to the seasoning process you need to make sure that your new skillet has been washed in hot water with mild detergent. This will easily remove the factory anti-rust coating from it. Now, for re-seasoning of an existing skillet you just need to make sure to wipe the entire surface with the hot water and a clean washcloth. You can also use a paper towel (sponges need not apply) it will also work fine. Then, dry the skillet by heating on the cook top and then let it rest and cool. Do not forget to pre-heat your oven to 200 degrees.
Step 3: To Season a Cast Iron Skillet
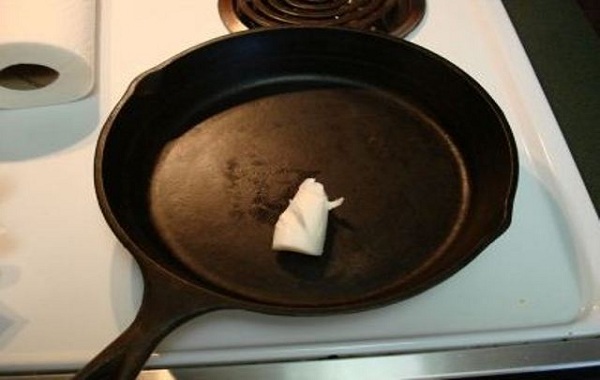
In this step, you need to fold the paper towel and directly place a dollop of lard in the skillet. You do not need to care about the as it is not important, but for a big skillet, you should use about 1/4th of a cup.
Step 4: To Season a Cast Iron Skillet
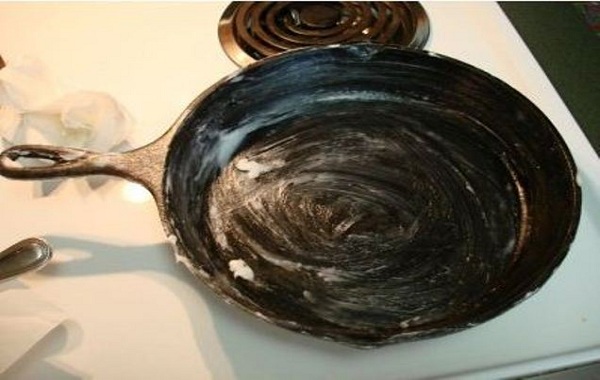
Now, simply take the paper towel and coat the entire interior along with the exterior down to the bottom edge and then the handle liberally.
Step 5: To Season a Cast Iron Skillet
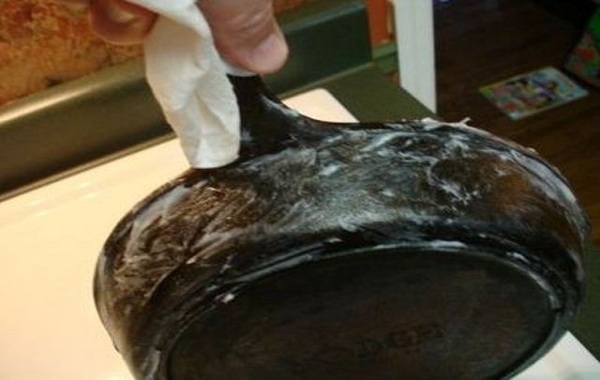
We do not recommend coating the very bottom of the skillet as any cooking surface that it touches will cause smoke and just burn off the lard.
Step 6: To Season a Cast Iron Skillet
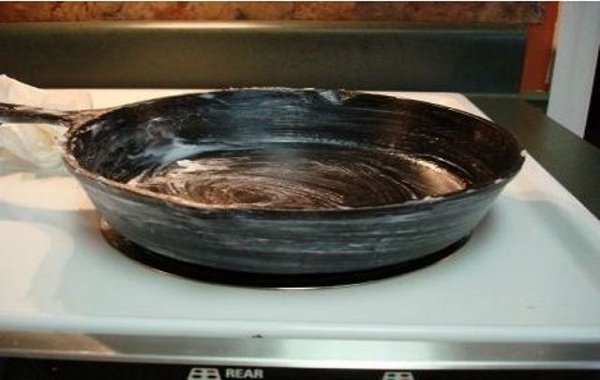
Now, place the coated skillet in the oven and set the temperature at 200 degrees and set a timer for three hours. This low temp will automatically open the cast iron pores and allow the lard to penetrate deeply as it liquefies.
Step 7: To Season a Cast Iron Skillet
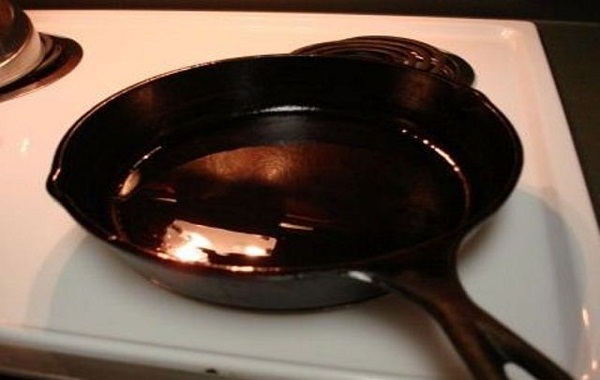
When the time is up, cut off the oven power supply and let the skillet cool. After it cool enough to touch then simply wipe it down with another paper towel such that it will be easy to remove most of the lard and just leave a thin coat on the surfaces.
Step 8: To Season a Cast Iron Skillet
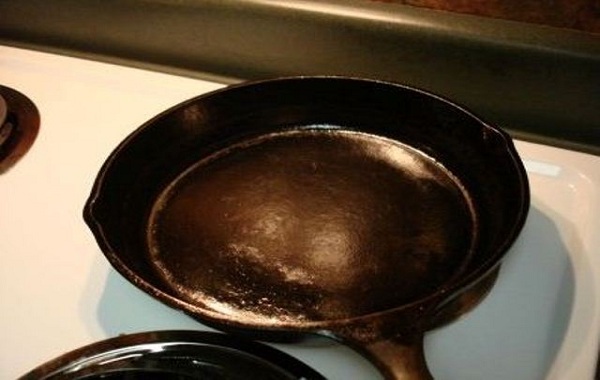
Wait for another one hour of so and then wipe it down again.
Step 9: To Season a Cast Iron Skillet

Once you have completed your final wipe, about an hour it will look like the step 8 picture. Your skillet is ready to use. For the first few uses, you should cook something greasy like sausage or bacon. This is important as it will heat cycle and re-coat the interior surface. Consequently, the non-sticky coating looks much better. You should make sure that it will not smoke for the first couple of uses as it heats cycles and basically burns off the water trapped which gives smoke. Excess use of lard also makes it smoke when you use for the first couple of time.
Step 10: To Season a Cast Iron Skillet
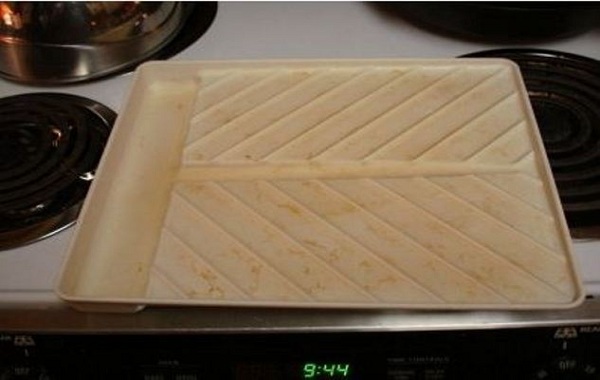
If you choose, you can execute your own lard from bacon drippings. Those who have their own microwave bacon cooking tray then it is very easy. You just need to cook bacon and let the drippings to cool either in the tray or just pour them into a bowl or shallow the dish while still hot. Once it has completely cooled and congealed, use it just like as the lard.


