In this article, we will discuss the best method to remove popcorn ceiling. They were quite popular back in the day despite many people had them to hide defects in the ceiling. The popcorn ceilings have no place in the modern home and they must be removed immediately.
Material Supplies You Need to Remove Popcorn Ceiling:
- Clear Tarps
- Duct Tape
- Blue Painter’s tape
- Handheld pump sprayer
- Paint Pole, Roller, and Roller Covers
- Ceiling Paint
- Spackle / Joint Compound
- Sandpaper
- Bucket, Sponge, and Soap
- 10″ Scraper
- Silicone Caulk
- Stepstool
- Mask / Respirator
- Joint Tape
Steps to Remove Popcorn Ceiling:
1.) Empty the Room
You can just move heavy items like sofas, refrigerator, TV stands, or heavy furniture but you must remove all lamps etc. from the room. Move everything adjacent to the wall as it makes easier to get to all the corners.
2) Tarp the Entire Room
Tape tarps with duct tape and use the painter’s tape to go at a foot up the walls. You need to cover all the electrical outlets and air registers. Your main aim to do this is to create a bowl-shape for the plaster to fall in to. You can also tarp the entire walls, but you do not need to do this if you go slow, not much will glop onto them. You can easily clean up later anyway.
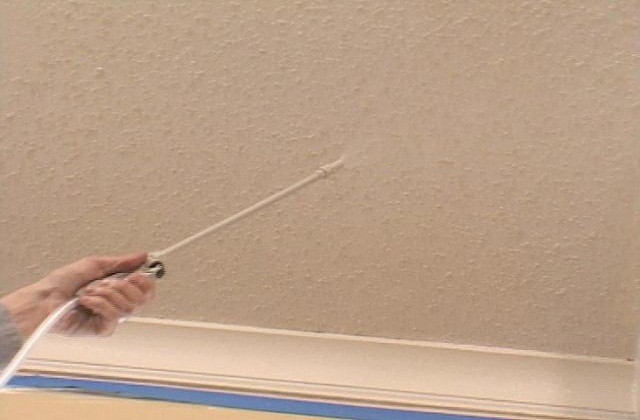
3.) Use the Water Sprayer to Moisten
The popcorn ceiling is capable of absorbing an insane amount of water and it is also hard to tell when it is wet enough. However, your scraper will slide easily without leaving the Sheetrock wet. Use paper towels to dry out the Sheetrock if it is very really wet and be sure to spray the popcorn directly. You can use your fingernails to test but before doing this you should wear a mask and eye protection.
4.) Get up on Your Stool and Scrape Away
You need to hold the scraper such that it is almost parallel with the ceiling. You should work on a small angle to avoid more gouges. You need to push firmly, but if it still hard then adds more water. A paint roller can be really effective to apply water if you don’t have a pump sprayer.
5.) Keep all Oatmeal on Your Tarps
You should wear crocs type shoes to keep the messy and slippery stuff away from you. The shoes will be easy to wash off but if it gets stuck to your foot then it will hard to remove. The oatmeal will again turn into powder once it gets dried. So, be sure to double tape your tarp seams.
6) Use a smaller Putty Knife to Get the Edges
If the room has to mold then scrapes against it. If there is no molding, scrape close, then use a sandpaper to get the edges. You should use a gritty sandpaper to get the job done easily. While working you need to use water. You will not have much major repairing but Spackle can easily fill in the holes. So, wait for it to dry and then sand it flat and paint over it. Use the gritty sandpaper to smooth out any missed plaster.
7.) Prime and Paint
Now, apply completely fresh tarps, there is no need to tape unless you feel it is so inclined. You may need half coats of the primer if you are painting stamped drywall. You will also need half coats if you are using a different color other than white. It is recommended using two heavy coats of ceiling paint on top. The paint roller pole may be difficult to use but apply with a lot of pressure and the process goes quickly. Do not touch the coats until they get completely dry.
8.) Use Silicone Caulk to Clean
You may need to use a silicone caulk to clean up all the edges where your ceiling meets the walls. There might be a chance that you paint over the wallpaper, this makes the edges very rough. There might have an adhesive applied to the edges to prevent the popcorn from peeling off when it gets wet during installation.


