In this article, we will discuss the best way to do acrylic nails at home. To be perfect in acrylic nails you need practice else you need to carefully each step to get it done. You need to aware of the risk factors and before you start. If you do it with patient and proper attention then you can be as good as anyone else. You do not need any expensive supplies but few items from the local drugstore and a little bit of patience.
Steps to Do Acrylic Nails at Home:
1.) Clean Your Nails to Do Acrylic Nails
This is the most important step before you start as you may have any pampering left on your nails. Now to get rid of old nail polish you can use a cotton pad and polish remover. The best manner in which you should remove previous left out nail polish is by light circular movement.
2.) Preparation to Do Acrylic Nails
Preparation is importation to properly do acrylic nails. To do this you need to push the cuticles back. Remove any leftover cuticle using another sharp end. Now, this prevents the acrylic from lifting off near your cuticle. Always make sure you should not do anything forcefully. So, do not push too hard as it is quite a sensitive area. The tip of the nail should now be filed to your desired shape and measurement.
3.) Nail Dehydration to Do Acrylic Nails
Nail dehydration will smooth the fine layer of liquid over the natural nail plate. The best thing is that the nail dehydrator should only take a couple of seconds to do the job. If you are applying artificial nail tips then you should apply them first before the dehydrator. Make sure after dehydration it will become very difficult for the tips to stick on to the natural nail. Applying dehydrator is totally safe after fixing the tips on your nail. So, do not apply the dehydrator on the tip.
4.) Applying the Primer to Do Acrylic Nails
Primer is necessary as your nail plates are naturally dehydrated and filed. This step includes an application of the UV gel primer. Make smooth thin layer over the natural nail but avoid applying it to the artificial nail tip. Allow it to dry completely for some time. The primer will help to fix the rest of the manicure to the natural nail. Place the nail under UV lamps for a couple of minutes. How much time you need to place your nails under UV lights depends upon the power of lamp you are using.
5.) Quick Acrylic Preparation to Do Acrylic Nails
For this step you need to pour the acrylic liquid (the monomer) into a glass container. This makes it easier for you to dip the rush in and out. Remember, do not dip the brush in the original bottle as it will contaminate rest of the liquid. Get ready with your clear pink tubs of acrylic powder (polymer) and those who want white tips should have a white one also.
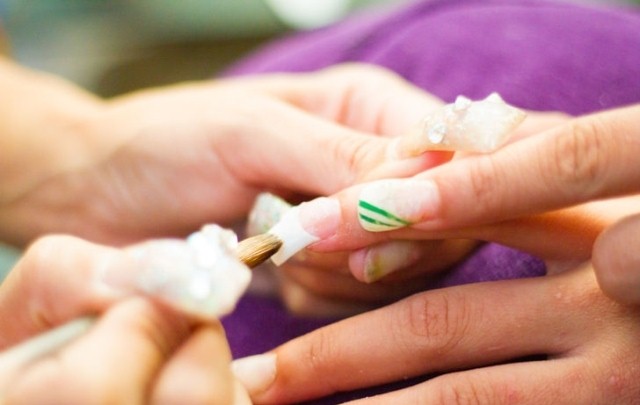
6.) Apply the Acrylic
To apply acrylics, dip a brush in the acrylic liquid followed by cleaning the back of the brush. Immediately, dip the brush in the relevant powder 3 times. Do this in a scraping motion so that powder will stick around the liquid. After creating every layer, dab the brush onto a paper towel to get rid of moisture.
7.) Pinching the Acrylic
After a minute your nails will be ready for pinching step. Put the pincher over the nail, so that there is a metallic prong on either side. Now, leave it until the acrylic set properly. Then, your nails will look more natural and slender.


