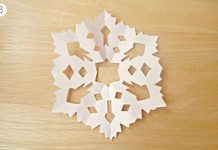
In this article, we will discuss the best way to make a snowflake. It is loved by all and considered as a symbol of prosperity. The best thing about snowflake is that every snowflake is unique. Whether it is July 24th or December 24th, these snowflakes are attractive and quite easy to make. You do not require anything other than some piece of paper and a pair of scissors.
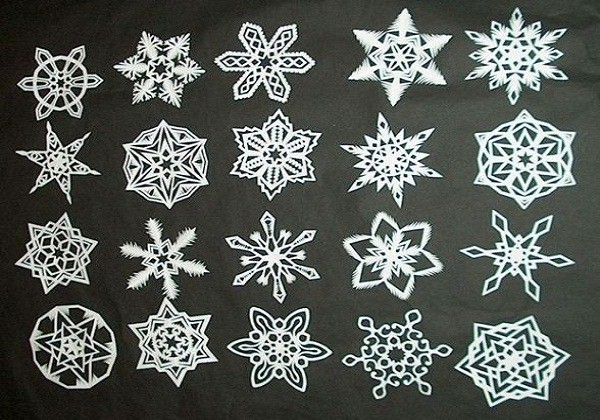
Method to Make a Snowflake:
1.) Steps to Make a Snowflake – Round Snowflake
Steps to Follow:
- Bend a part of paper into equal halves.
- You should choose a regular printer paper for a simple snowflake.
- You can easily make a fancy snowflake by decorating your paper before making the snowflake using a colored pencil, sketch pen, marker or crayon.
- If you want to skip the decorating process then simply choose the colored paper to make a snowflake.
- Find the middle of the paper on the bent paper.
- Form a triangle by simply holding the bottom corner of the colored paper and bringing it to the center.
- Now, re-bend it while rotating over the folded angle.
- Make a cone shape by ending the piece of paper to being folded into thirds.
- If you have found that quite unclear then bend one side over the one-third ways, then just bend the other part over to wrap the first side.
- While working on the soon-to-be snowflake, you should make sure to keep the point downward. This is basically the middle of your snowflake.
- You will have a small cone-like shape in the hand. Cut off the cone paper top in a manner that it makes a small arch shape.
- Cut all over all the layers just somewhere around the top layer ends. Then it will look quite attractive.
- You are now fully prepared to make your own snowflake. Now, start cutting the paper cone.
- You might want to start with an easy manner and then go to the more complex patterns.
- For beginners, it is advised to start with a mall cuts.
- The smaller the cuts the more comprehensive your snowflake will look.
- Now, open the snowflake slowly and you will definitely have your first hexagonal snowflake in a few seconds but opening needs some patience as it will tear if you show impatience.
2.) Steps to Make a Snowflake – Angular Snowflake
Steps to Follow:
- Take a regular sheet of printing papers. Make a perfect square by taking the end corners and putting it over to the top.
- Cut off the extra paper such that to work only with the square. You need to make sure the creases of paper are stiff and well straight at all steps in this process.
- If they are not even and spotless then you may end up with an unsteady snowflake. Now, bend the paper into half way, to form a triangle shape.
- This is the exactly same method as we have mentioned in earlier steps and is only stated in case you extended it to cut. Once, it is bent you net to bend it again, to create an even minor triangle.
- You may bend it again to make a fully diverse, much reduced, a base for the snowflake. Make sure folding it, again and again, creates more difficulty for the children’s to work with.
- Now, begin to form cuts in a large number. Well, it is here the snowflake gets really good. If you are creative then, you will see a snowflake that is tricky, subtle, and complete.
- Cut in the form of arcs, whirls, angles to get the most out of the snowflake easily. You will find it helpful to grab the midpoint of the snowflake.
- However, you can also cut it and the snowflake will be grip organized. The more paper you cut, the thinner it will become. Do not worry as this is not a wrong thing to do.
- If you have made enough number of cuts then can unfold the snowflake but be careful. These cuts make the paper very weak such that it can tear easily.

