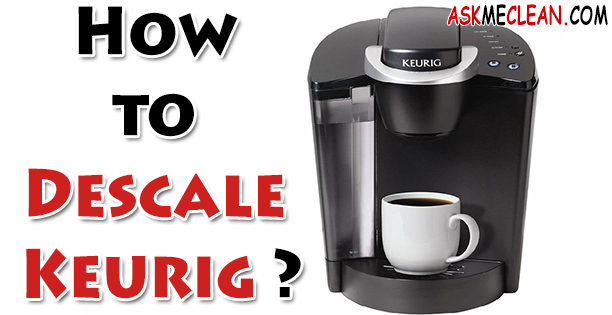
In this article, we will help you descale Keurig. Descaling a Keurig is important for maintaining the proper functioning of Keurig. This process is done for removing calcium deposits, scale and other accumulation which can build up inside a coffee maker with regular usage. Although, calcium and scale are non-toxic, but if left unattended, they not only hamper the performance of your brewer but also the taste of your coffee. Periodic descaling also helps in preserving the heating element and other internal parts that come in contact with regular water usage. One should do descaling every three to six months to maintain the long-term health of brewer.
Depending on the usage, calcium deposits may build up faster, making it more necessary to descale frequently. Below we have mentioned the steps to descale Keurig. Follow them properly to get positive results.
Steps to Descale Keurig
For performing this task, you will be required to have a large ceramic mug, fresh water, and access to a sink. You can’t use a paper cup for this process.
This method is especially suited for models – Rivo, K-Cup, and Keurig 2.0 Brewing Systems. This method is not for except MINI, MINI Plus, and B/K130 series.
1.) First Descaling Solution Rinse
Directions to Descale Keurig:
- First, empty the water from the water reservoir of your keurig. If you have a Keurig water filter, remove it and keep it aside. Also remember to disable the “Auto Off” settings as per the owner’s manual for your brewer.
- Second, take a Descaling Solution Rinse. You can but it online. Press the Power Button on your brewer to power the brewer off.
- Now pour the entire bottle of Keurig Descaling Solution to the water reservoir.
- Next, fill an empty bottle with water and pour it into the water reservoir.
- Then press the Power Button to turn the brewer on.
- Now keep a large mug on the drip tray plate of your Keurig and run a cleansing brew cycle using the largest brew size.
- In case of Keurig 2.0 brewers, you need to brew 6 ounces of hot water.
- Remember not to use a K-Cup/Rivo/K-CarafeTM pack.
- Pour the entire contents of the mug into the sink.
2.) Second Descaling Solution Rinse to Descale Keurig
Steps to Follow:
- In second step, repeat the brew process again without a K-Cup/Rivo/K-CarafeTM pack, until the machine displays “Add Water”.
- Allow the brewer stand for at least 30 minutes while it is still on. This is not necessary if you have Rivo system.
- Now, dispose any residual solution remaining.
- Rinse the water reservoir thoroughly.
3.) Fresh Water Rinse to Descale Keurig
Steps to Follow:
- Make sure that the water reservoir is filled with fresh water (not beyond
- the max fill line).
- Now, keep a large mug on the drip tray plate and start a cleansing brew using a largest brew size.
- Later, pour the contents of the mug into the sink.
- Now, repeat the brew process until you have finished at least 12 brews.
- You may require refilling the Water Reservoir at least once during this process.
NOTE: The cleaning action of Keurig Descaling Solution can result in “foam” dispensed from the brewer. It happens because solution reacts with the scale inside. It is natural. In case your brewer is heavily scaled, your brewer may not fill appropriately after the descaler is added in it. This may result in small or no output dispensed along with a sound of air blowing out. In such case follow below mentioned steps
- Switch off and unplug your brewer.
- In case there is Keurig descaling solution in the water reservoir, dispose the content and rinse the water reservoir thoroughly.
- Now, refill with water and plug the brewer back in.
- Switch on, and repeat the Fresh Water Rinse Cycle mentioned above in Step 3.
- The brewer will start functioning normally as the solution is washed out and the scale is eliminated.
- In case problem continues, let the brewer to remain unplugged for about 30 minutes before you continue with the rinse.


